[Today’s run: Watson Road 3.5 miles]
Yesterday I finally finished up my HW-8 dial light project.
I had started this a few months ago. I obtained a piece of lexan about 3 x 2 inches and slightly less than 1/8 inch thick. I heated it with a heat gun and bent it 90 degrees on one long edge. I trimmed and polished it so that the bent down part was just 1/8th of an inch or so long. Then I used some “professional” type super glue to attach two bright blue square LEDs to the polished long edge farthest from the bend. I tried to polish the small, bent edge also.
The HW-8 has a a two-layer front panel. The front-front is a painted panel attached to the unpainted box which holds the radio parts. The idea of this bent lexan is to get light into the space between the panels. A simple bulb in the box does not provide light through the dial.
I left things there for awhile. I was not sure how to attach the wires to the LEDs without putting strain on the glue joint.
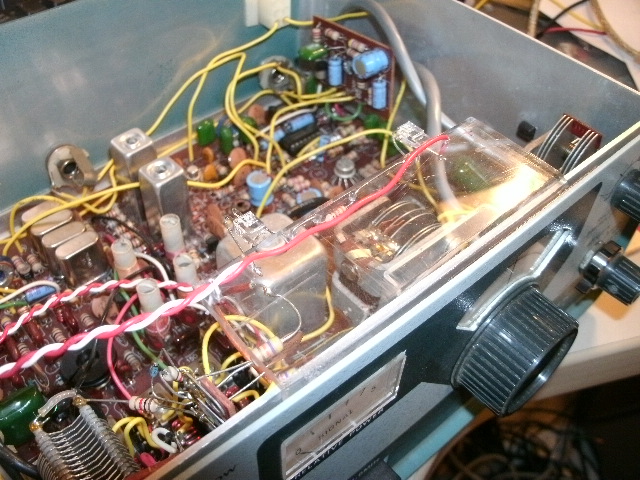
 Yesterday I finally got it finished. I noticed that the light path from the LEDs through the lexan was in a cone shape. So I drilled some small holes along the edge near the LEDs and used those holes to support the power wires and a resistor to drop the current and protect the LEDs. I used a 330-ohm resistor. I figured that having the holes back near the LED edge and to either side would keep them out of the light path.
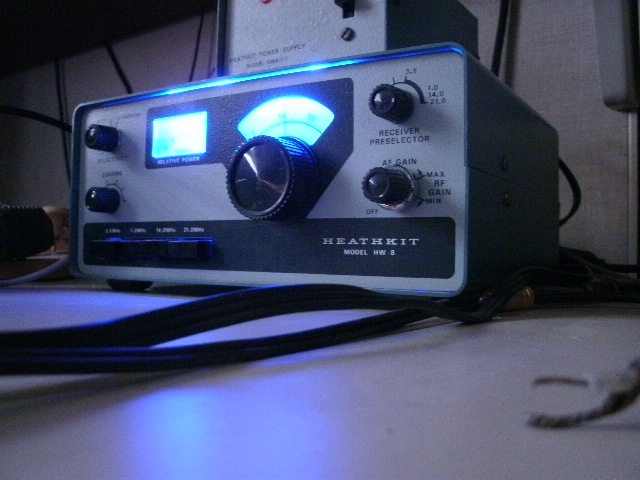
After hooking the power wires up to a point internal to the radio, you can see that the dial lights work very well.
Here is a somewhat confusing picture of the lexan as it is mounted. It just sits with the small lip wedged into the space between the front panels. It only goes down a little bit, not far enough to interfere with the dial mechanism. I am hoping that the panel pieces will retain their springiness and hold it in place over time.